This snippet will teach you that you may add users under the same Google Account. This will help you maximize the use of your google analytics. It would be easy for you to manage multiple business profiles placed in one Google Analytics account.
1. Open your web browser, sign in to your Google Account, and type “googleanalytics.com” on the address bar of your web browser and it will automatically redirect you to your Google Analytics account
2. Once you are already on the Google Analytics page you will see this new page, you can simply click “sign in to Analytics”

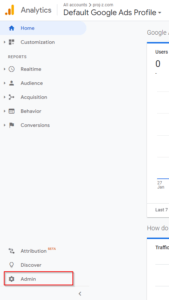
3. You’ll get directed to the Google Analytics dashboard, from your dashboard, look for the “Admin” button in the bottom-left corner
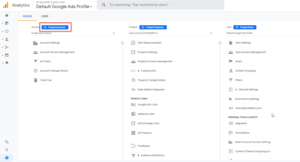
4. In the Admin page, you’ll see three columns titled “Account”, “Property”, and “View”, go to Account and click the button next to it titled “Create Account”
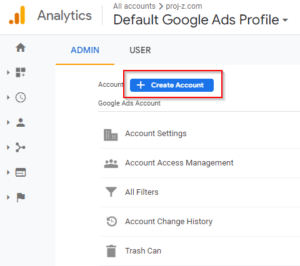
5. You’ll be redirected to another page where you will have to provide the details of your business or website. The first step in creating a new profile or account is to provide your business/account name
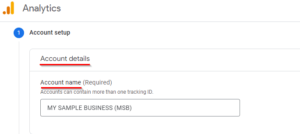
6. Read carefully as this will help Google to Control how you share your Analytics account data with other Google products and services, and select what suit your business best.

7. Click Next

8. Next step will be giving your account a property name, reporting time zone, and currency
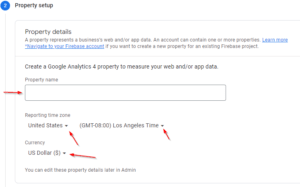
9. You also have the option whether to only have Google Analytics 4 or both GA4 and Universal Analytics. Just click the show advanced options.
10. To turn or to make universal analytics just turn on the side button and click next
11. When you’re done, just click Next

12. Next step will be giving more details about your business, industry category in what category does your business belong, business size how big is your business, does your business has more than or lower than 100 people involved, and lastly how you want to use your Google Analytics to help your business. And, when you’re finally done providing this information just click the Create button
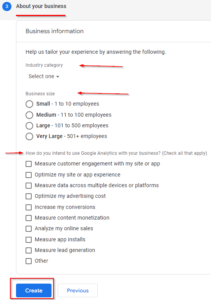
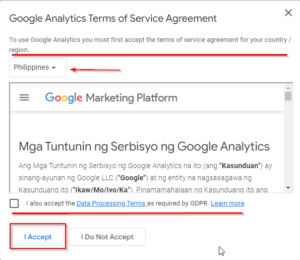
13. After you have clicked the Create button, a popup form will be shown to you containing an agreement between you and google. Select your country/region, read the agreement and if you agree with everything then you can now proceed by checking the checkbox confirming that you accept their terms. Lastly, click the “I Accept” button
14. And, since you also have created your property along with the name of your account, after you’ve finished your account details, you get directed to the property section
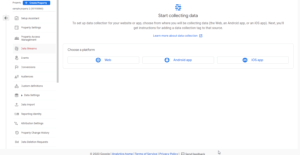
15. In this section you will be setting up your data streams, you have three options here to choose from, where would you want to collect data

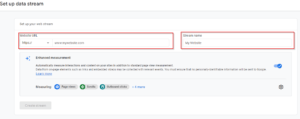
16. When you select Web, you have to put the URL of your website and give it a stream name. You can also turn on the Enhanced Measurement, once you turned it on it will automatically collect Page Views, Scrolls, Outbound Clicks, Site Searches, Video Engagement, File Downloads, and Form Interactions
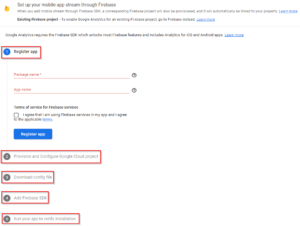
17. When you select Android App, you will provide details and finish all these steps Register the app, Provision and Configure the Google Cloud project, Download the config file, Add Firebase SDK, and Run your app to verify the installation
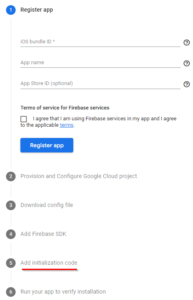
18. When you select IOS App, it is almost the same as setting up and collecting data from an Android App, there is only one difference the “Initialization Code”
