In this topic you will learn how to add Google Analytics to your site. Learning how to do this will help you understand how Google Analytics can help you measure how many people were reached by your website or mobile application, and how you can reach more.
1. Sign in to your Google Analytics

2. Head over to the Admin section from your dashboard
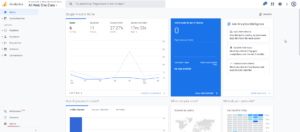

3. In the Admin section, go to the property column
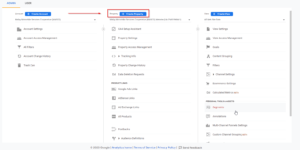
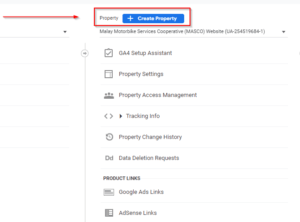
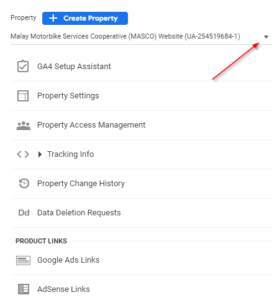
4. Use the dropdown menu of the property column to make sure that you have already selected the correct property of your website
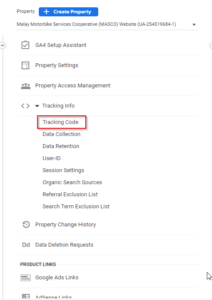
5. In the column property look for “Tracking Info”, select and click the button
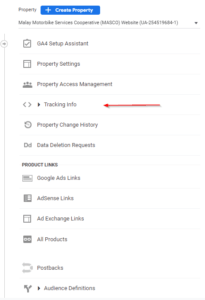
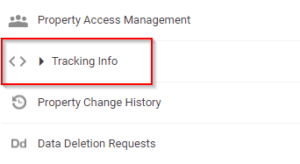
6. Once you have clicked the Tracking Info button, a few sub-selections will be shown to you. This time choose “Tracking Code”
7. Selecting Tracking Code will show your Tracking ID and the gtag.js code for your site
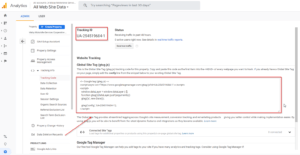
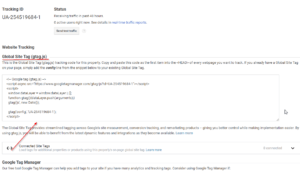
8. Copy the gtag.js also known as your Global Site Tag


9. Paste this code to your server, sign in to your server
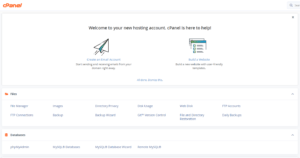
10. Go to Files category and select File Manager
11. Inside File Manager
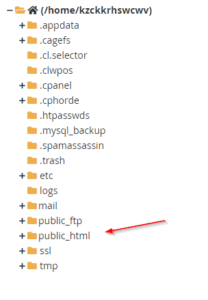
12. From the files of public_html, select and open the wp-content

13. Inside the wp-content folder, open the themes folder
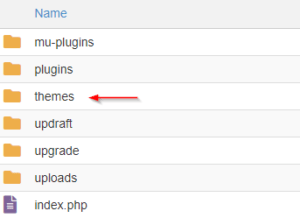
14. Inside the themes folder, select the child-theme folder and open it

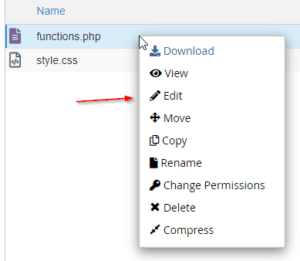
15. Select Functions.php

16. Right-click and select Edit
17. Paste the code
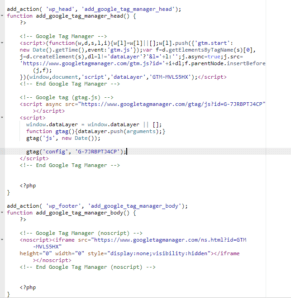
18. Click Save changes
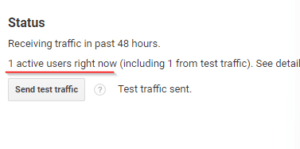
19. Refresh and go back to your Google analytics, inside your tracking info under tracking code, send test traffic
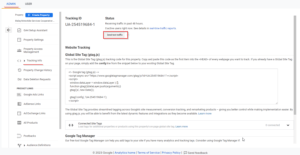
20. After you send your test traffic, it should show that it has one active user. Then you’re good to go
